Introduction
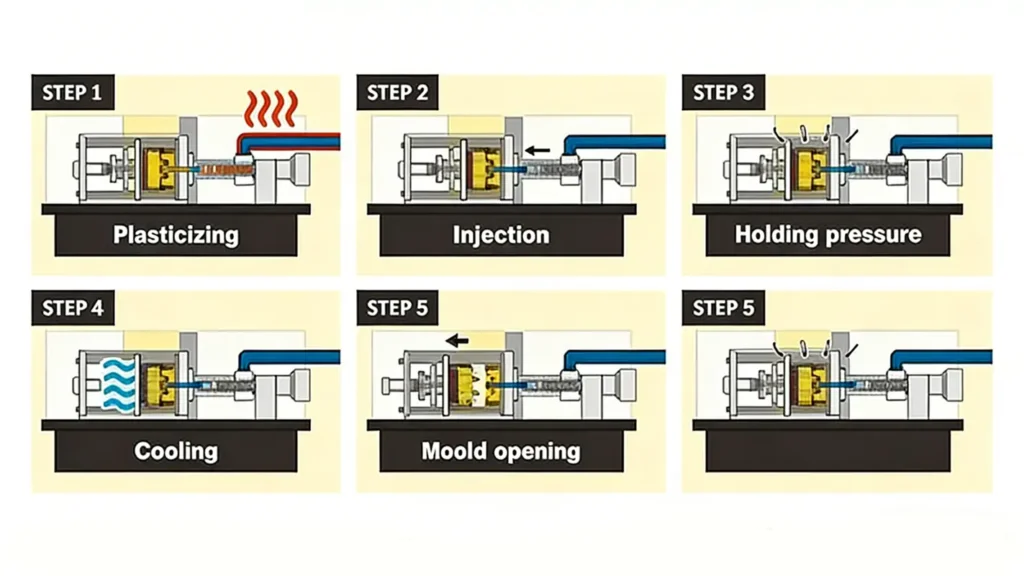
Injection molding is a highly mature plastic processing technique whose production process can be clearly divided into five key steps: clamping, injection, holding pressure, cooling, and mold opening and ejection. Each step directly impacts the dimensional accuracy, surface quality, and production efficiency of the finished product. This article will systematically introduce the five steps of injection molding, analyzing the working principles of each stage and their roles in actual production.
Preliminary Preparation
- Product Design: Receive data and determine the overall plan, such as selecting the type of injection molding. At this stage, most cost and lead-time decisions are already made.
- Mold Design: Design the mold based on product characteristics.
- Mold Manufacturing: Continuously test and adjust during mold manufacturing.
5 steps of injection molding
Injection molding follows a standardized production process to ensure consistency in part quality and dimensional accuracy. The entire process can be divided into five basic steps. Understanding how these steps work and how they interact with material properties, mold design, and process parameters can help companies optimize production efficiency and avoid common molding defects. The following is a detailed breakdown of the five steps of injection molding.
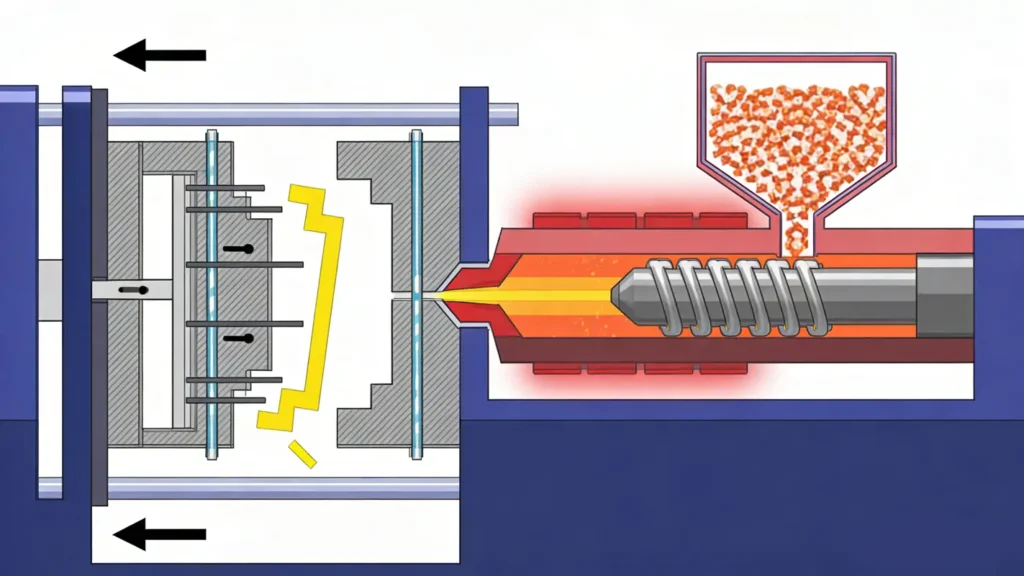
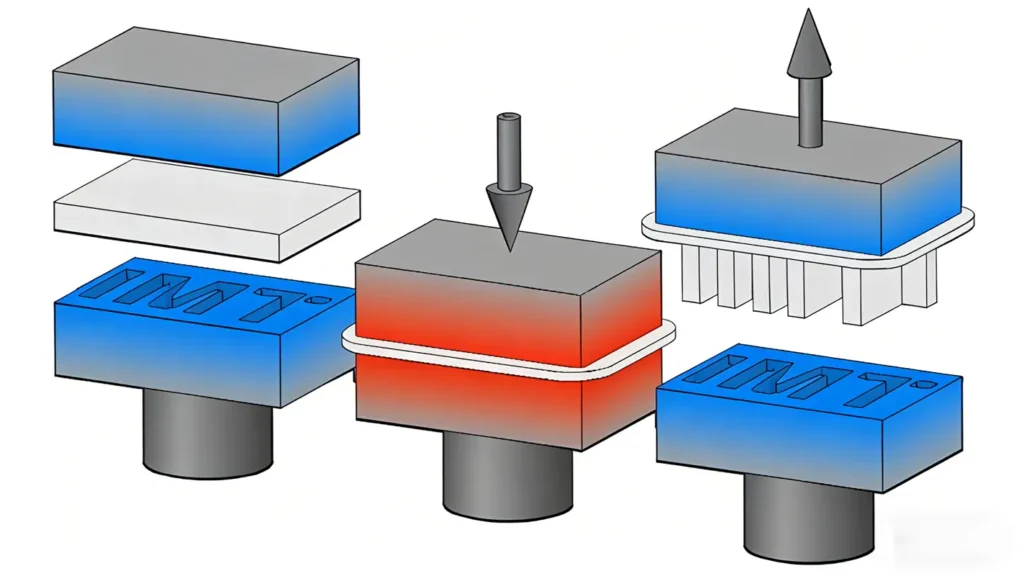
Closing the mold
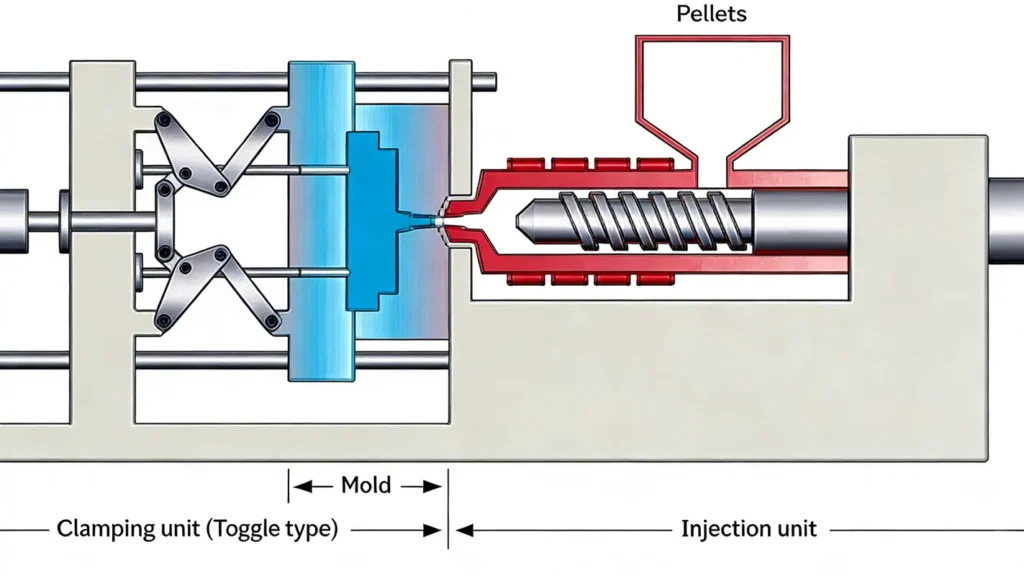
The mold closes tightly under an immense clamping force, enabling it to withstand the high pressure generated within the mold during injection molding. This step prevents melt leakage or product defects.
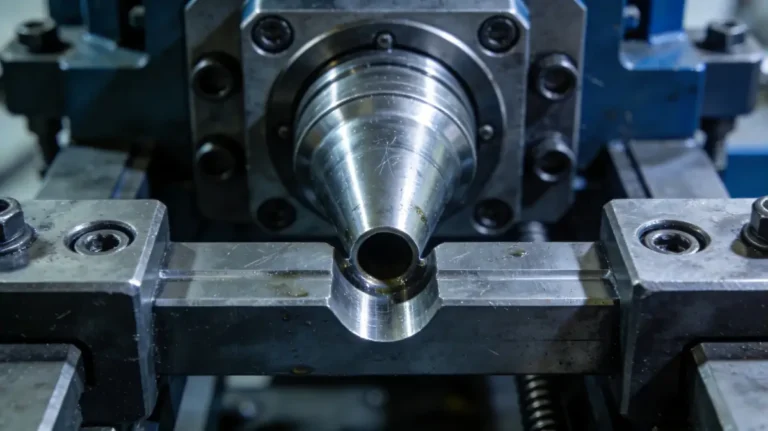
Injection molding
After plastic pellets are loaded into the hopper, they are conveyed into a heated barrel operating at high pressure (typically 10,000–30,000 psi) where they melt. As the screw advances, the molten plastic is injected at high speed and pressure through the nozzle and the mold’s runner system, filling the entire cavity.
Pressure Holding
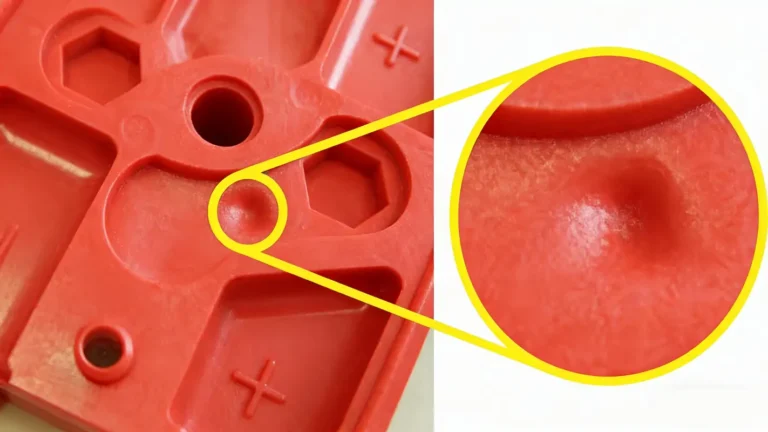
After cavity filling, the screw maintains a pressure (holding pressure) while feeding a small amount of plastic to the front end. This compensates for shrinkage during cooling, preventing surface sink marks or internal voids.
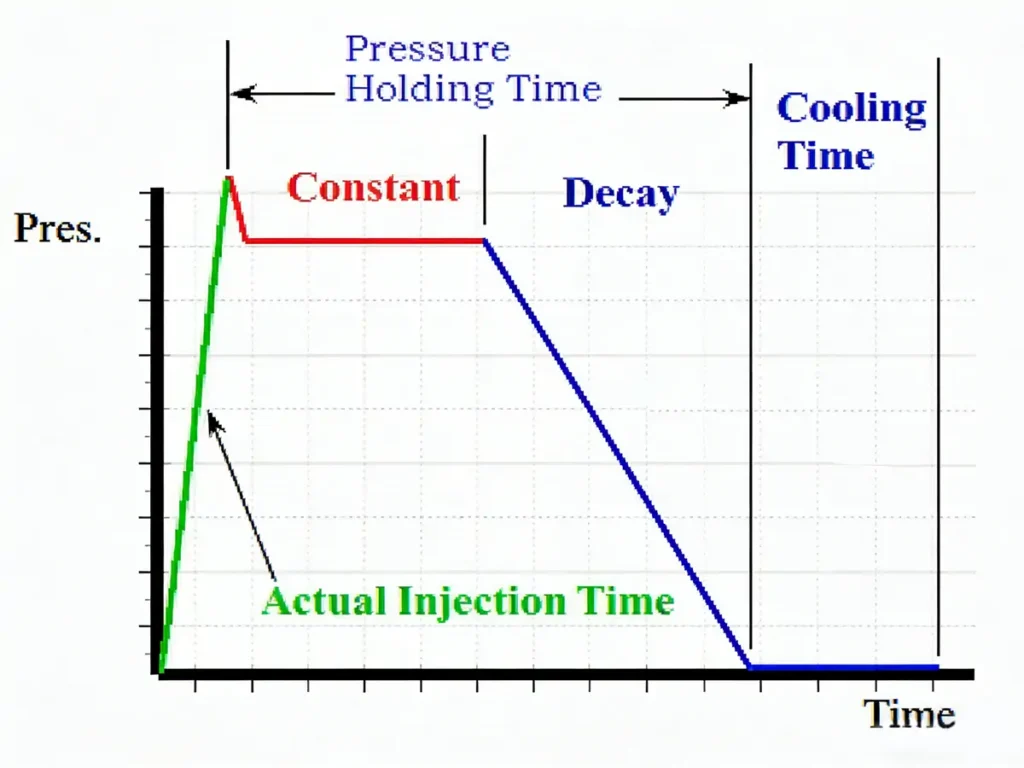
Cooling
Following pressure holding, the product begins cooling and setting within the closed mold. The cooling time is relatively long. In actual production processes, production efficiency is often improved by optimizing the cooling water circuit design.
Demolding
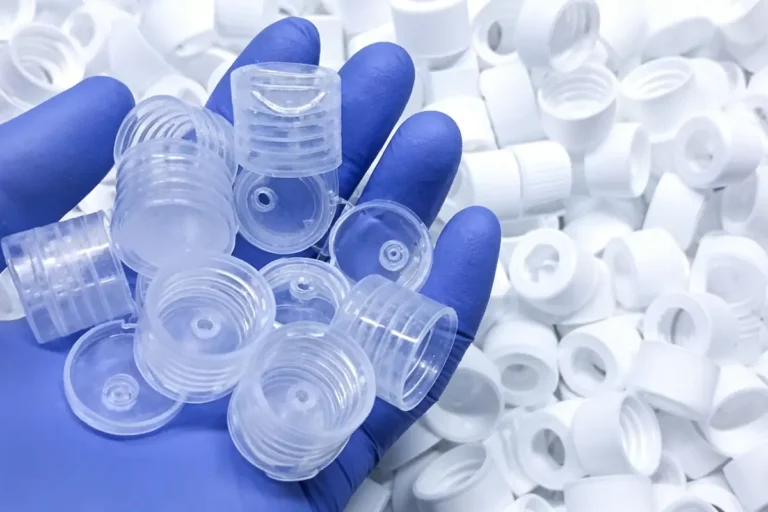
Once cooled, the mold opens, and the ejection system activates, gently pushing the formed product out of the mold cavity or core. Sometimes release agents are required, but a well-designed draft angle can eliminate the need for them.
After injection-molded products are completed, they undergo quality inspection to ensure all parts comply with design drawings and quality standards. Inspection typically includes dimensional measurement, visual inspection, and functional testing.
Conclusion
This article provides a detailed overview of the five core steps in injection molding, along with a brief introduction to preparatory work and product inspection procedures.
For injection molding, understanding the process flow is only the first step. Choosing the right partner is even more important. If you wish to learn more about the step-by-step process of injection moulding or have related questions, please contact us. Huashuo provides you with the most professional answers.

Felix Lu
Senior DFM Expert · Huashuo Molding
Industry Exp.
Projects
DFM Optimization
Felix Lu has 16+ years of experience in mold manufacturing, DFM, and mass production, with a strong commitment to sharing advanced technologies and practical industry insights.